Example
In this example we want to guide your through the process of building a journey map. To keep things simple, this journey map describes a user interacting with a todo-list application.
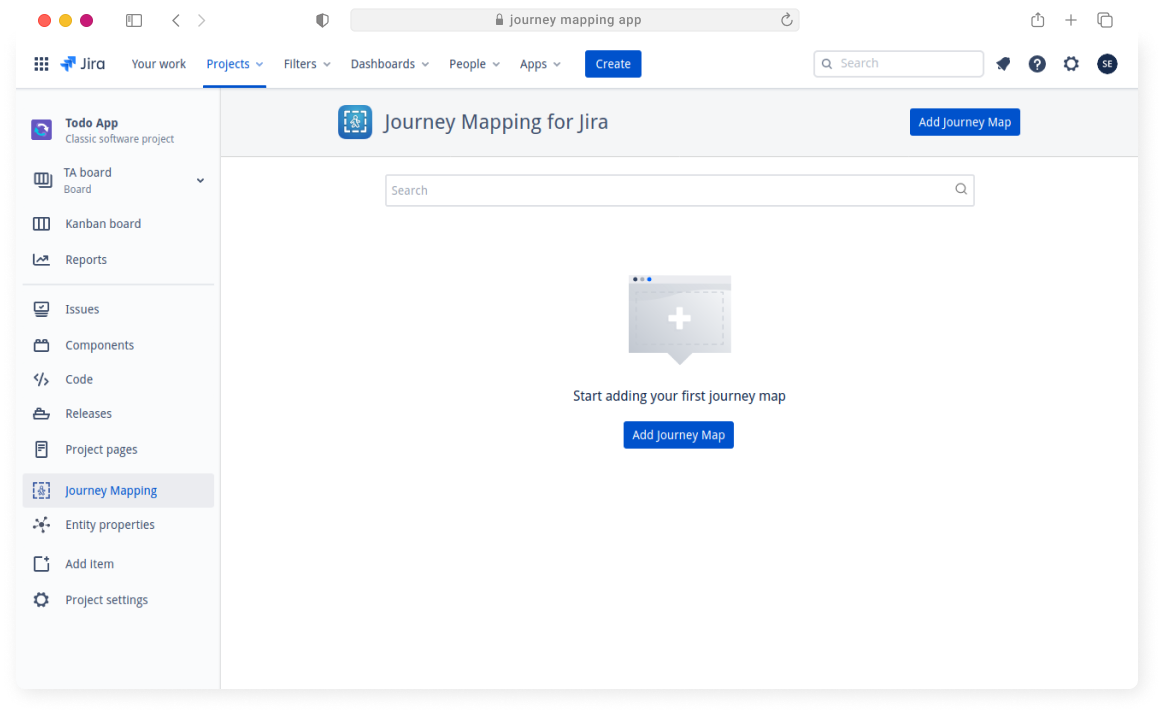
When opening Journey Mapping app for the first time, you will see this welcome screen.
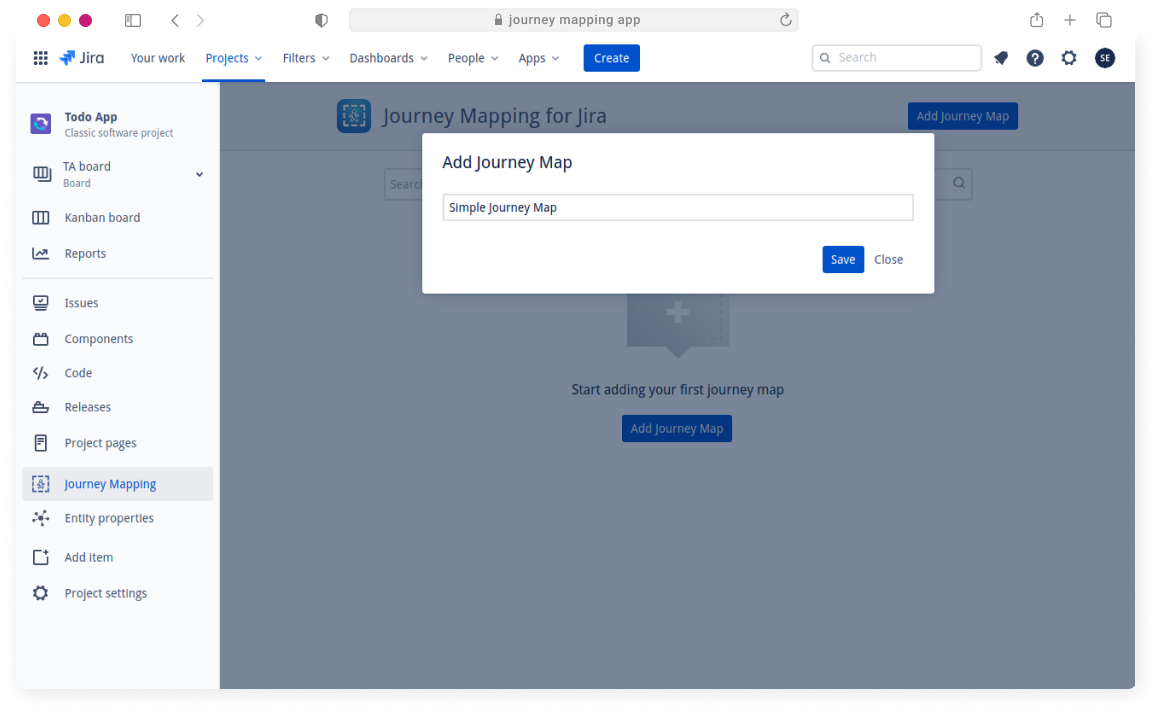
We will now add a new journey map, choose whichever name you want.
After clicking on the newly created journey map, we will find an empty canvas for us to fill.
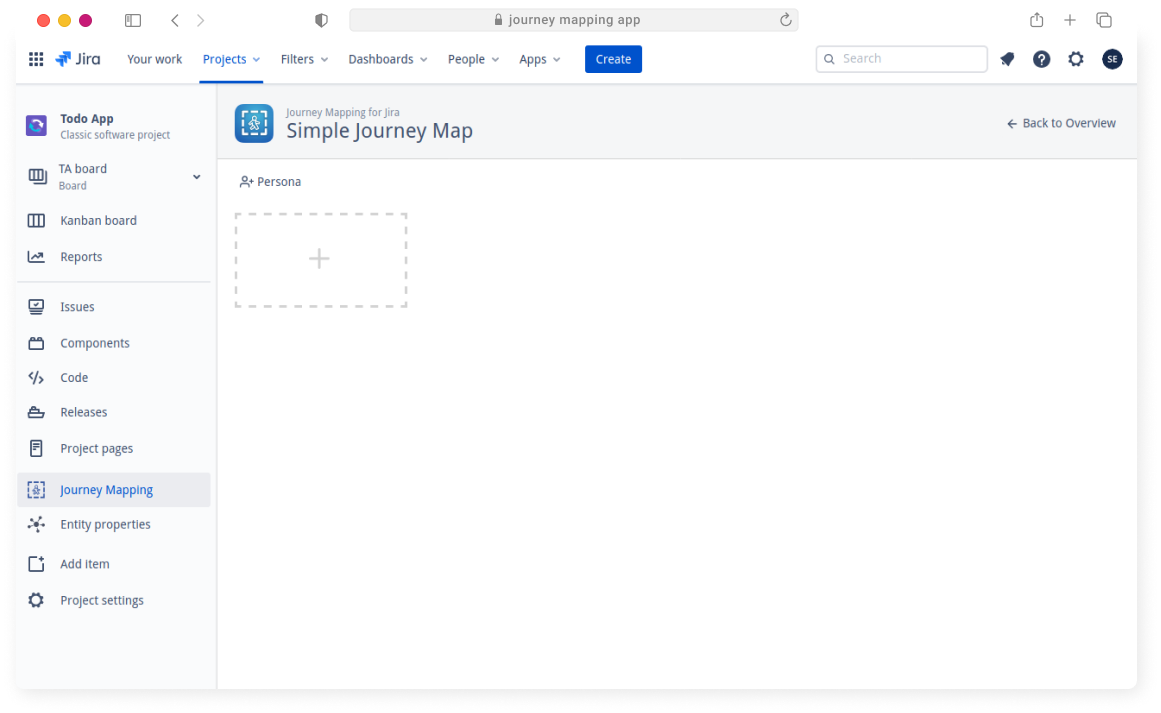
First, we will add a persona for our journey. For now, this is mainly cosmetic, but there are many features coming with regard to personas.
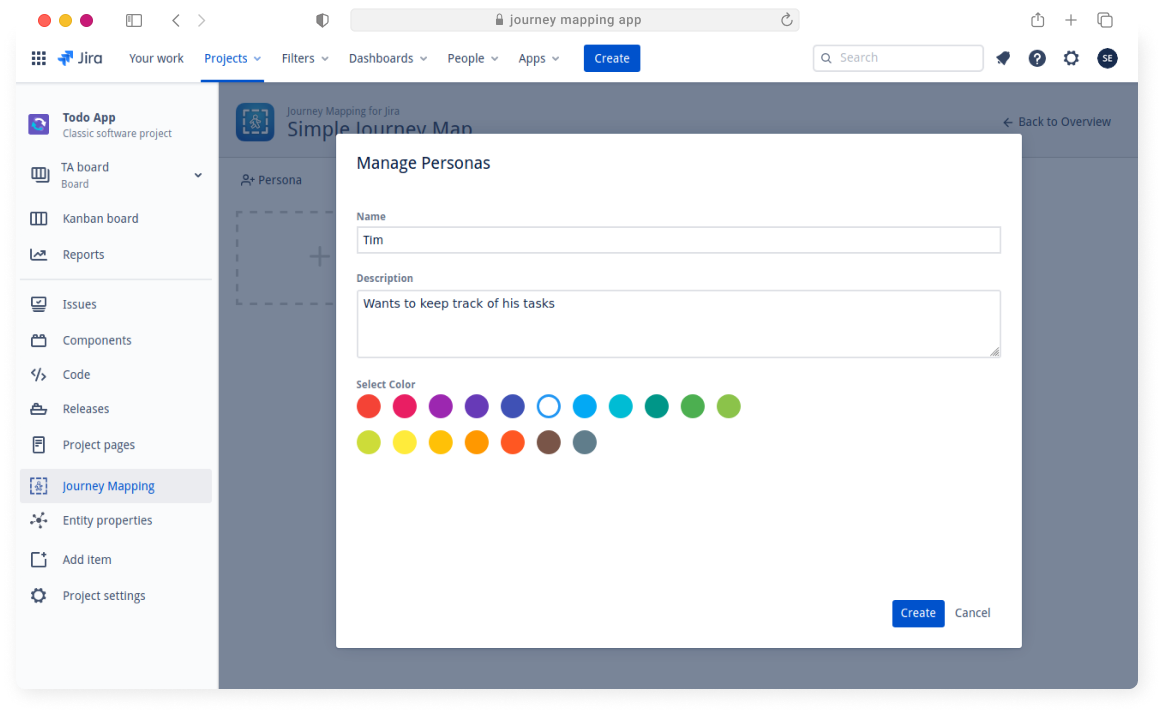
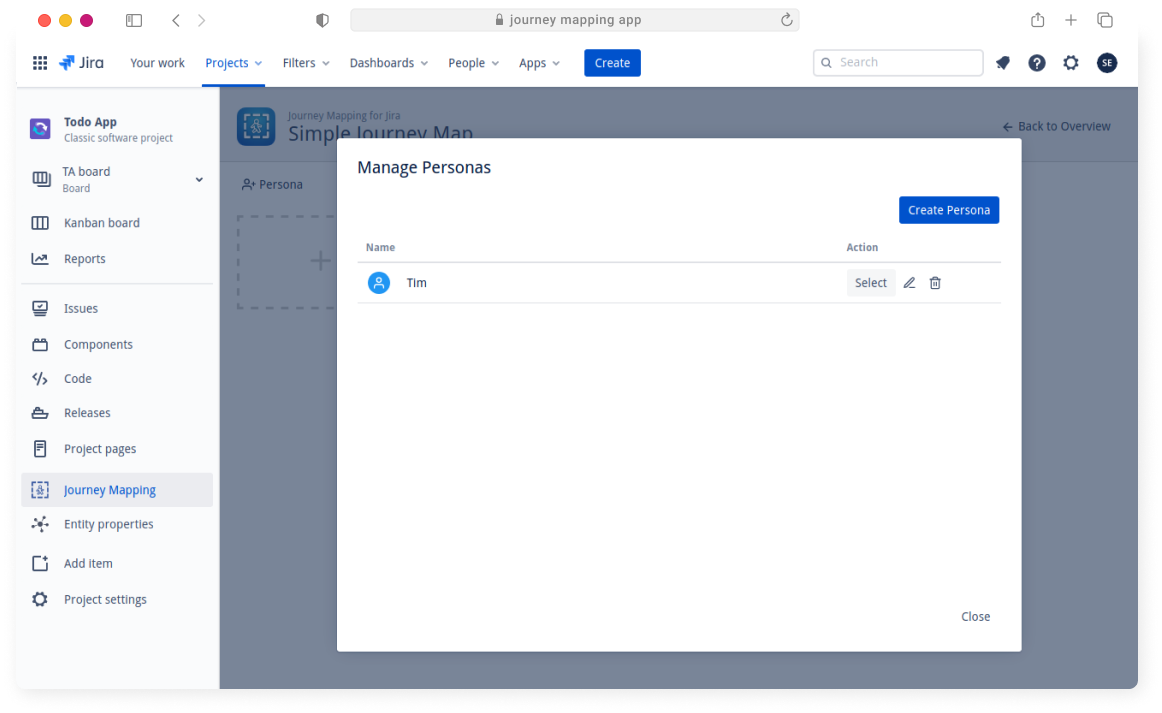
After creating the persona, we can click select to associate it to the current journey.
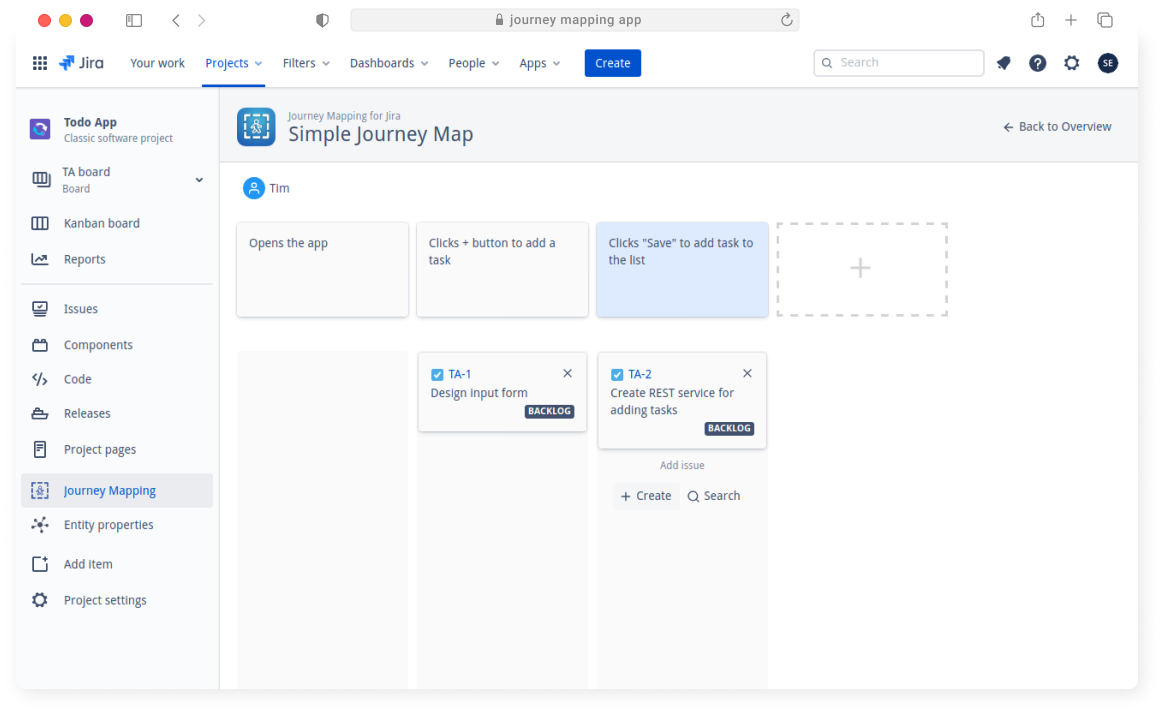
Next, lets map out our user journey. We can add an unlimited amount of steps, but it is advisable to keep to a maximum of 10 to keep the journey map manageable.
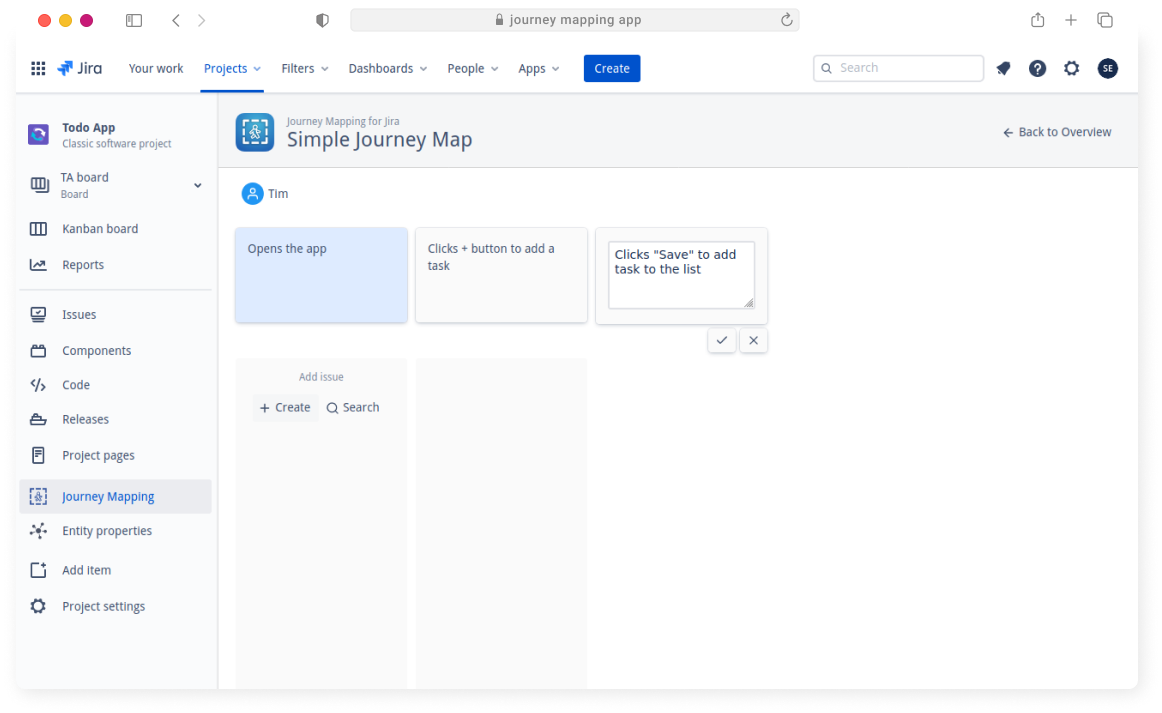
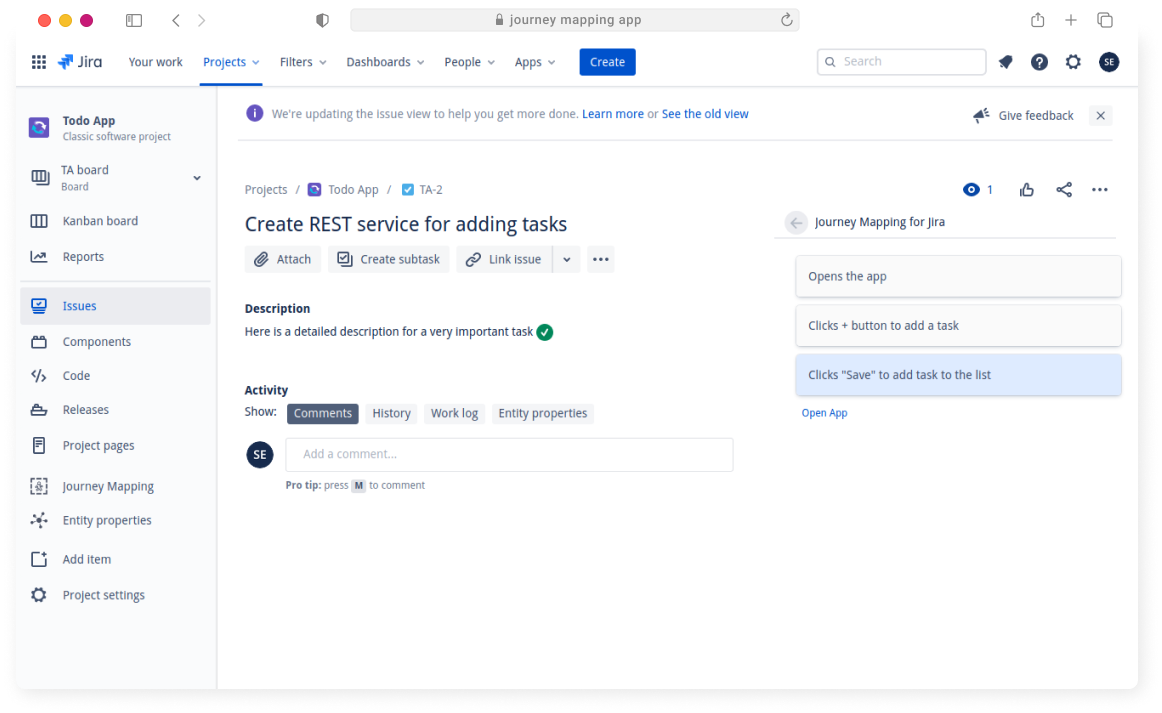
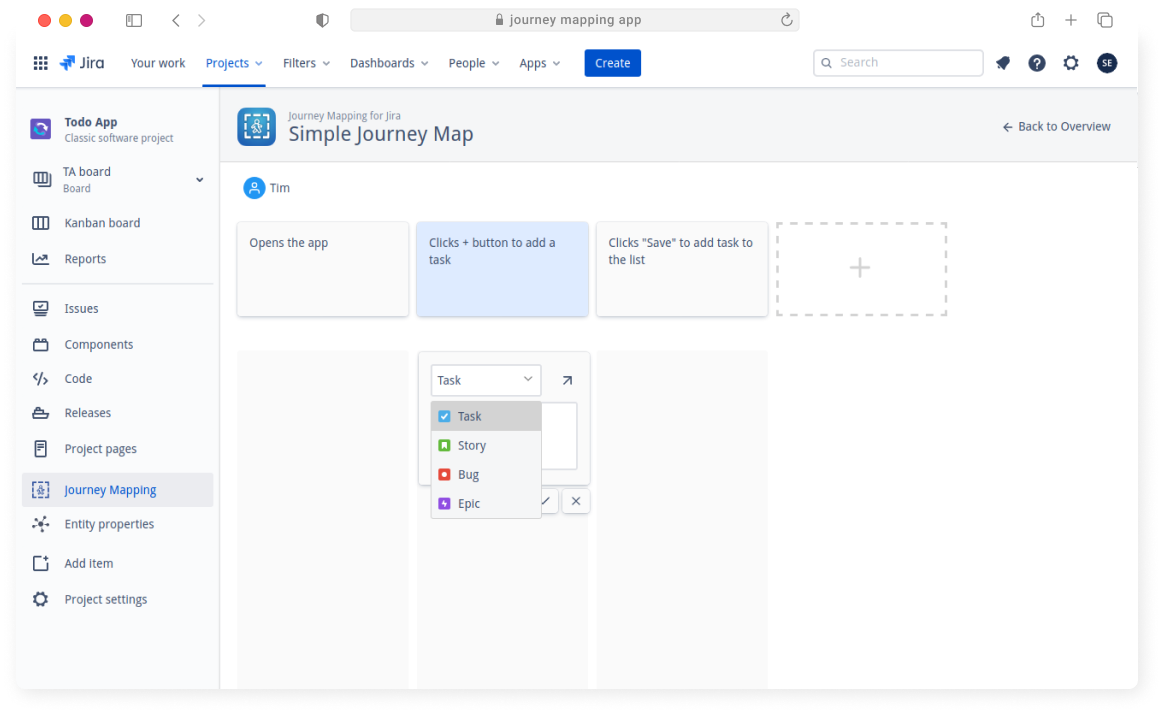
After adding all the necessary steps, we can start creating Jira issues right from the canvas.
We can use any available issue type in the project.
We can later view the journey map right from the linked ticket.